In this article, you're going to learn how does the preference menu work.
Contents of this article:
Introduction
The preferences menu allows setting up the account and configure your preferences. You can access to this menu in Settings > Preferences.
Requirements
In order to access to the Settings menu, you need to have administrator rights in the platform.
How does it work?
- Image: you can upload an image to your account. This image is the one you are going to see in your account list when you enter the platform and in the top selection menu. The size of the image cannot be more than to 2MB. The recommended format is .png. The resolution of the images has to be 200x200 px, otherwise, the image will be cropped.
- Metric system: configure your preferences on area and temperature units. You can choose between m^2 or sqft and Cº or Fº.
- Format's system
- Currency placement: select whether you want to see the currency icon before or after the number.
- Dates: select the format of the dates: DD/MM/YYYY or MM/DD/YYYY.
- Numbers: select the way you want to indicate the decimals of the numbers and the grouping separator.
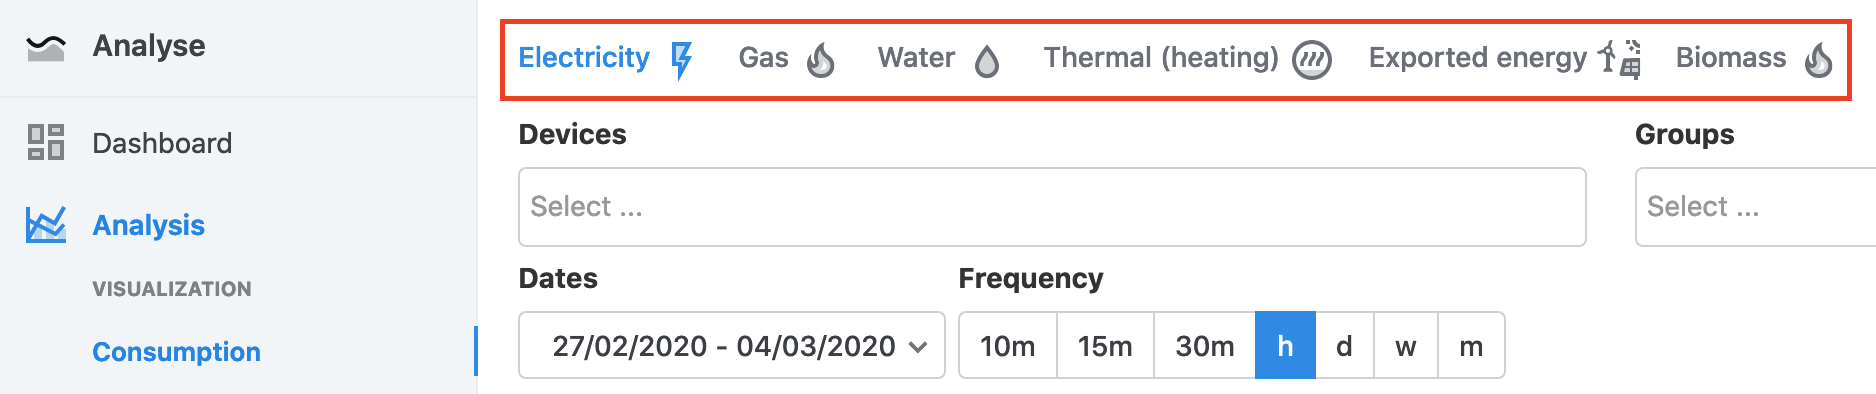
- Enabled energy sources: select the energy sources that are going to be enabled on your account. The selected sources will appear on the analysis submenus:
Type of reference meters: indicate the basic types of reference meters. For more information, click here
Available frequencies: select the frequencies that you want to have available in the analysis section.
Note: The changes done in this menu, will affect the whole account, so all the users will have the same preferences.